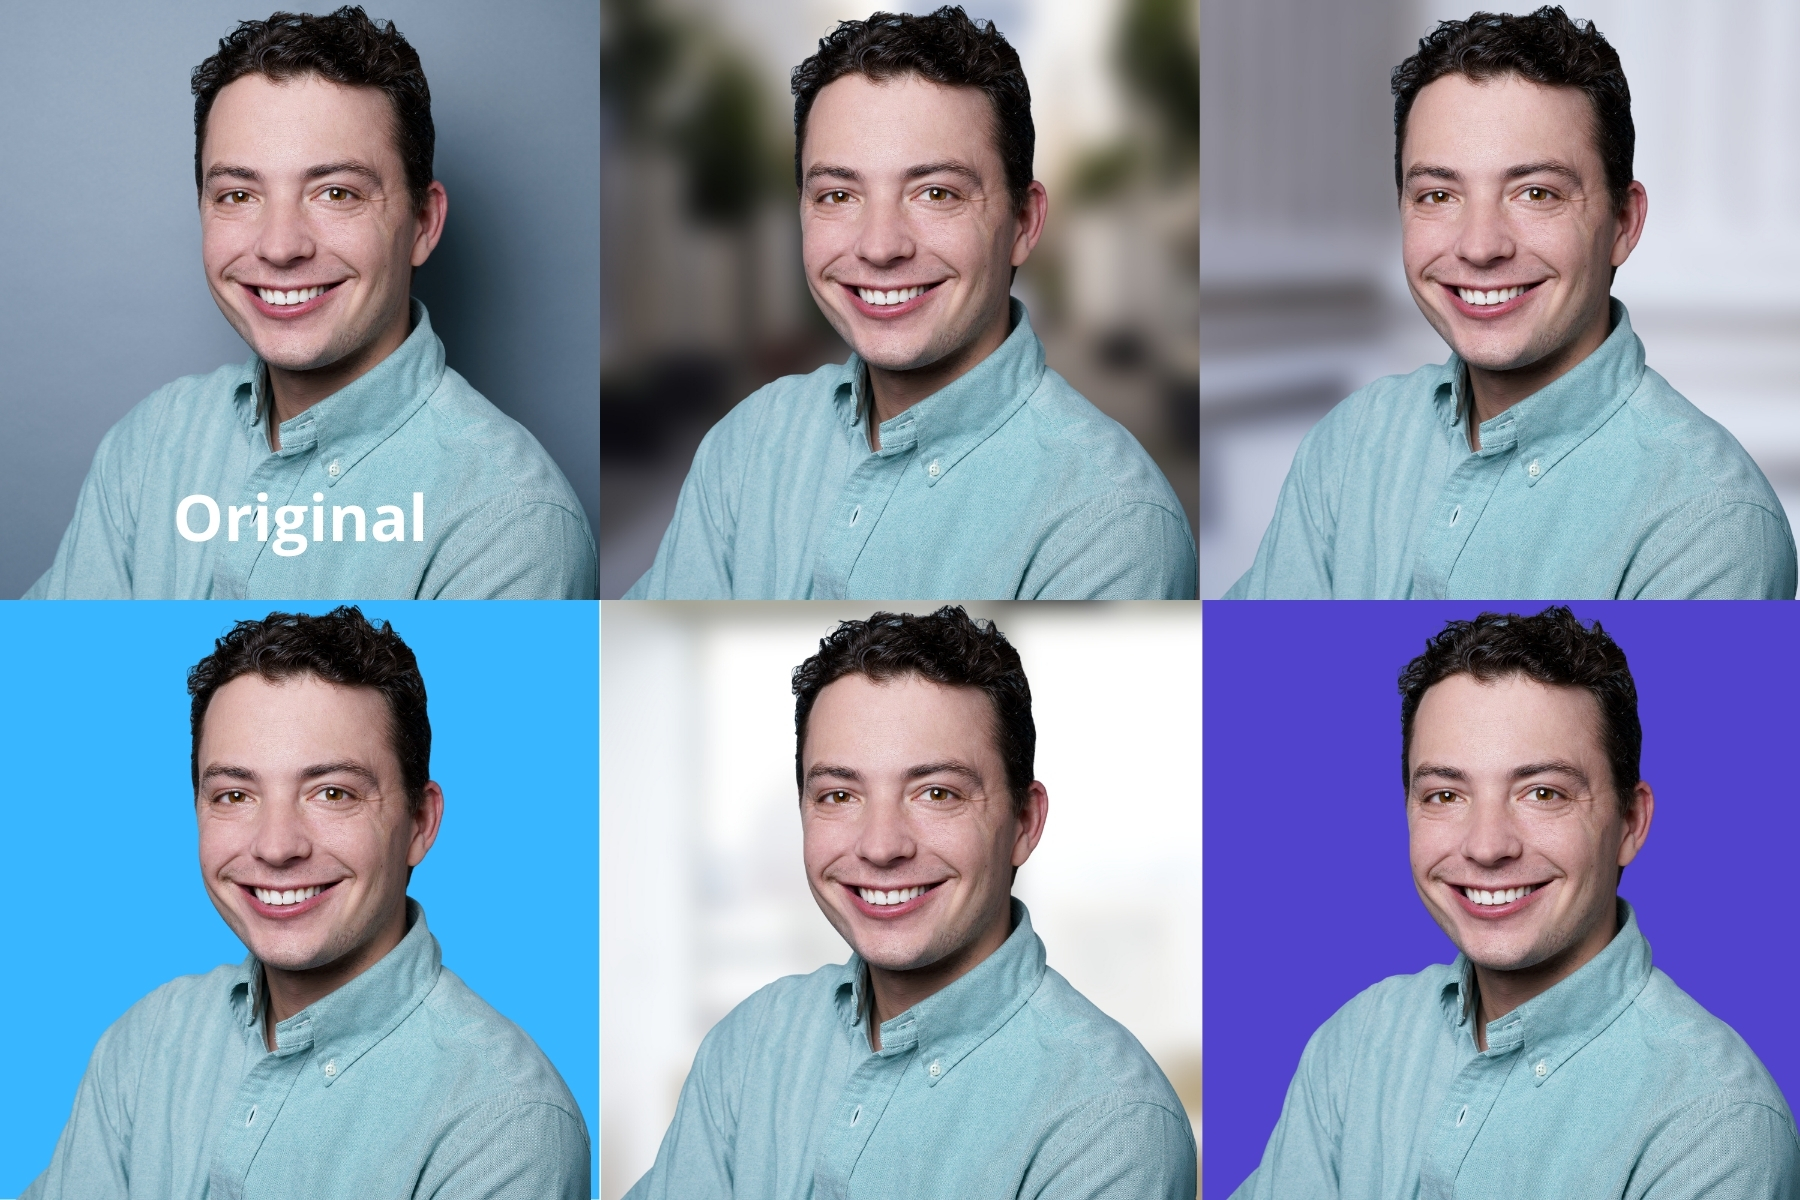
How to Cut Out Your Headshot Into a Transparent PNG File

If you’ve ever seen a headshot that’s been pasted (without a background) on to an internet graphic, business card, or brochure, you might have wondered how that photo was created.

Headshots with a transparent background are a wonderful marketing asset to have in your arsenal. They can be used in a wide range of media to add a personal and friendly touch.

Traditionally, photographers and editors would need to use Photoshop (or other technical editing tool) to cut out the background of photos. It’s a long and tedious process.

But these days, anyone can create a headshot with a transparent PNG by using one of several user-friendly graphic design platforms. Since your headshot won’t have a background, you can place it in a variety of places on websites and print materials.

In this article, we’re covering how you can use Canva to turn your headshot into a highly versatile transparent PNG:

How To Create A Headshot With Transparent PNG

Before we get started, you should know that not all photos will work well for this process. In order to get a really clean cut-out, you’ll need as much contrast between you (skin, clothing, and hair) and your background as possible. A solid white background is typically best.

Step 1: Sign up for a free Canva.com account.

Step 2: Start a new project that’s 2250 pixel x 2250 pixel size.

This isn’t a hard and fast rule. If you need other dimensions, just use those. But, don’t size your project too small or the final image will be grainy. If you size your project too big, most online platforms will either reject the file or compress it (looks bad). The above size works perfect for most profile photos on social-media.

Step 3: Click on “Uploads” in the left side bar and upload your headshot.

Step 4: Click on “Elements” and then find “grids”, there’s an object that’s just one panel, click on that one.

Step 5: Go back to “Uploads”, drag and drop your headshot from that section into the grid panel you just added.

Step 6: Click on your headshot, and then click on the “Effects” button at the top of the editor.

Step 7: Click on “Background Remover” on the top left.

Step 8: Boom! You’re done.

If you’d like a transparent PNG, just click “Download” on the top right and then click “Transparent Background” and then “Download” again.

Optional: If you want to add a different background to your headshot, you can also add another Grid panel to the background and swap in another photo. The most common backdrops would be a city or office. If the background photo is taken in sharp focus, we recommend adding the “Blur” effect to that panel at 35% to 45% strength.

That’s a wrap! Follow the steps here, and you can liberate your headshot from its background and use it wherever you like. 
Recent Posts

Company HeadShots In the Age of Covid-19

Company HeadShots In the Age of Covid-19

With the spread of Covid-19, many organizations are as eager as ever to get their employees new company headshots. Client meetings have largely moved online, with many employees working from home - and so employees’ business headshots are more important than...

Where To Get Professional Headshots in San Francisco: Updated 2022

Where To Get Professional Headshots in San Francisco: Updated 2022

For your business headshot, the photo’s background can say as much about your personality as your clothing. Over the last five years, more and more customers have been requesting outdoor sessions versus indoor studio shots. This request is generally on-trend for...

Covid-19 Health & Safety Guidelines

Covid-19 Health & Safety Guidelines

Summary: We are now open for regular service. However, all clients are required to wear a mask before-and-after their session. In the article below, we cover the steps we're taking to ensure a safe environment for our customers, photographers, and partners. As of May...

Our 100% Satisfaction Guarantee Explained

Our 100% Satisfaction Guarantee Explained

Whenever a company talks about the "Satisfaction Guarantee", it's important to take a look at the fine print. So, here's our fine print. 🙂   About HeadShot Inc's Guarantee Our guarantee is strait-forward: If for any reason at all, you don't like your photo,...

HeadShots Inc Featured on 500px

HeadShots Inc Featured on 500px

For those who haven't seen it yet, I recently had an opportunity to contribute to the blog on 500px - a world-renown photography and design website. About the HeadShots Article Published on 500px This article covers the fundamental mistakes many photographers make...

Announcing: HeadShots for Hope 2020

Announcing: HeadShots for Hope 2020

Over the past year, HeadShots Inc has been extraordinarily blessed to find success in what’s likely the most competitive photography market in the world. While a lot of this success has been through hard work, some has undoubtedly been luck and the awesomeness of our...

Not HeadShots: Lonely City Photo Series

Not HeadShots: Lonely City Photo Series

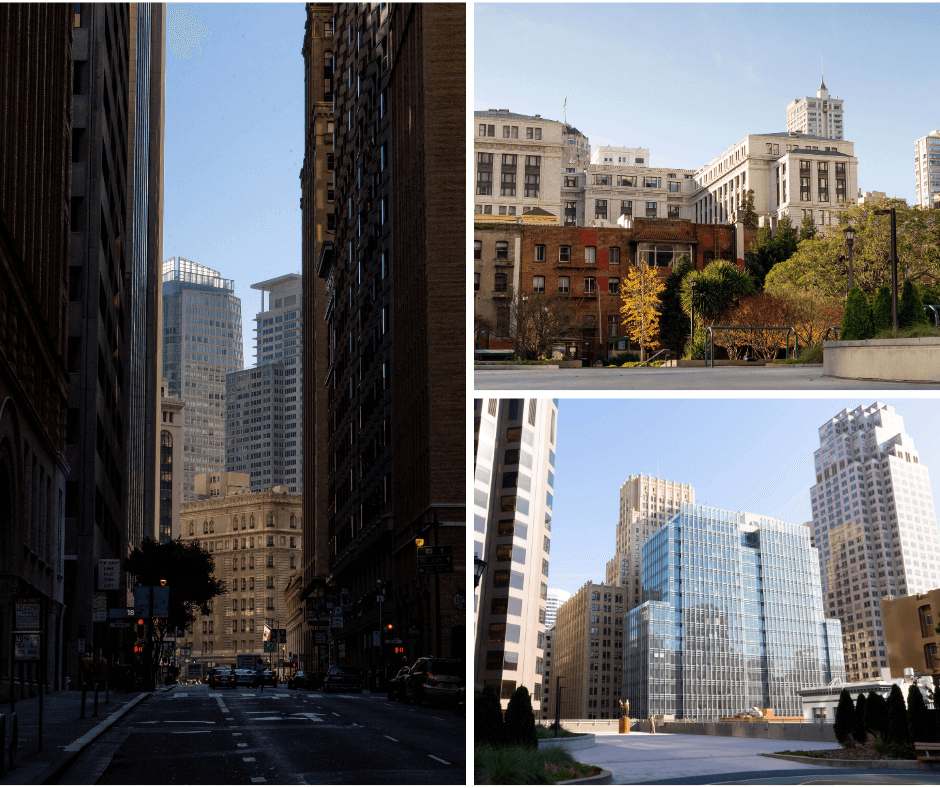
While 95% of my day involves taking corporate headshots for professionals and companies - sometimes I like to step away from working with clients and explore more creative work. In this series of photos, I wanted to use photography to document one of the phenomenon...

Woah! HeadShots Inc Featured on PetaPixel

Woah! HeadShots Inc Featured on PetaPixel

Check out the latest article by Head Photographer Dan St Louis on Petapixel.com. In the article, Dan covers common mistakes other photographers make when shooting professional and corporate headshots. You can read the article here:...

Top Three Events Perfect for HeadShots Conference Booths

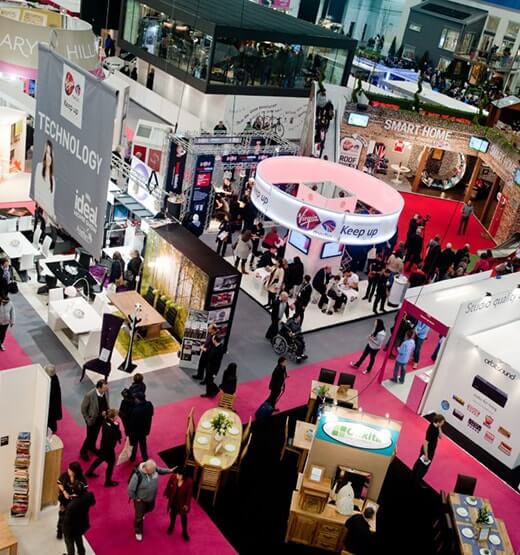
Top Three Events Perfect for HeadShots Conference Booths

HeadShots is proud to partner with brands and show coordinators to offer a professional headshot booth at major events, conferences, and expos around the US, Canada, and the UK. Here are best types of events for HeadShots Booths: Event Type #1: Business Conference...